iOS 17 comes with a whole range of cool new accessibility features to make using a phone easier for people with disabilities. One of those cool features is Personal Voice in iOS 17. If you use a lot of voice commands to use your phone and you’re tired of the pre-built audios that come with the device, then you can switch that out for your personal voice.
In this guide, I’ll be walking you through how to set up personal voice in iOS 17.
What is Personal Voice?
Personal Voice is the new AI accessibility feature that allows you to create a digital clone of your voice based on your voice samples. Personal Voice in iOS 17 works with Live Speech to convert text into audio.
With Personal Voice and Live Speech, you can type out FaceTime or a call, and it will speak out loud in a voice that sounds like you. If you’re worried about the privacy of your sound, then you’d be happy with Apple claiming that you have full control of your data, as all the machine learning is done locally.
At first, hearing your voice may be a little uncanny valley, but if you love personalization, then the voice will enhance your device experience.
How to Set up Personal Voice?
Before you set up Personal Voice, you need to keep in mind that it takes a lot of time. The majority of time is going to go into training the machine learning model, plus several hours to process the voice. So, make sure you have some free time before setting up Personal Voice on iOS 17.
- Getting Started
To get started with Personal Voice, follow these steps:
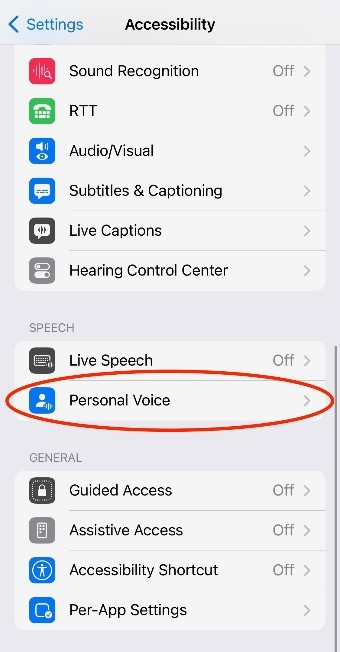
- Go to Settings
- Find Accessibility
- Find “Personal Voice (in the Speech section)
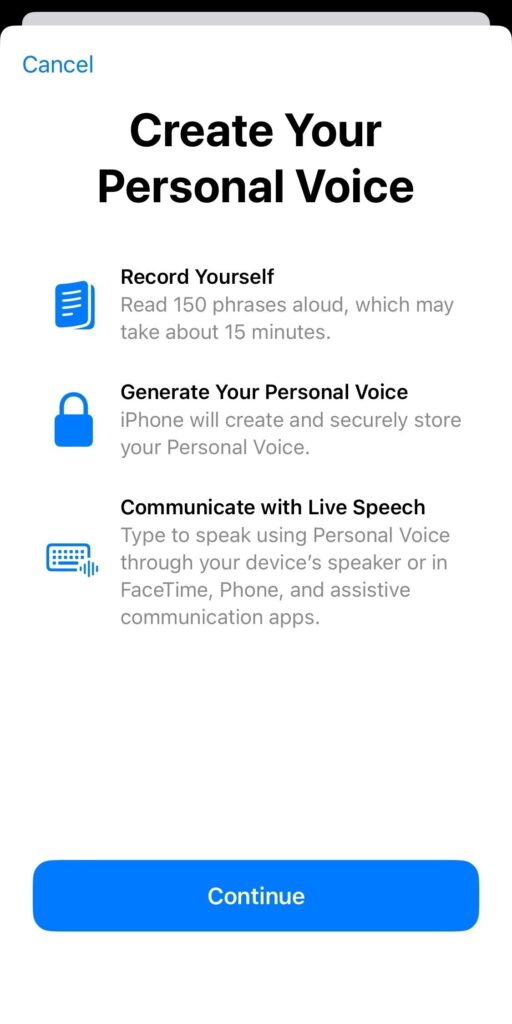
- In Personal Voice, tap “Create a Personal Voice.”
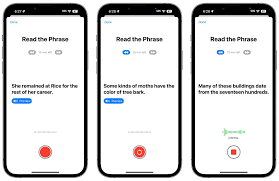
The next step is to follow the on-screen instructions. You’ll be prompted to record 150 phrases out loud in a quiet place. Make sure to speak in a natural voice, hold the phone 6-12 inches away from you.
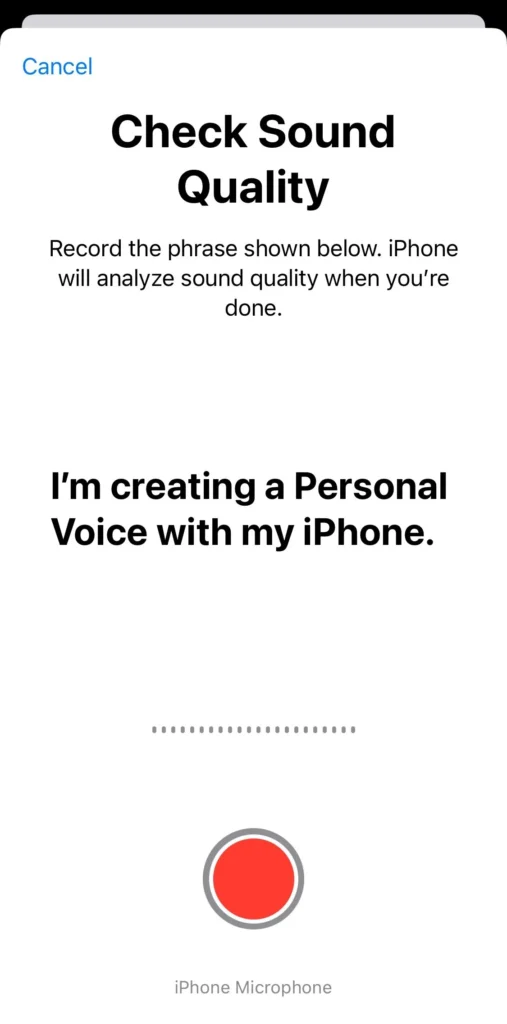
2. Check Sound Quality
Before you record your voice sample, Apple will ask you to name your Personal Voice. You’ll be asked to check the sound quality before moving to the next step.
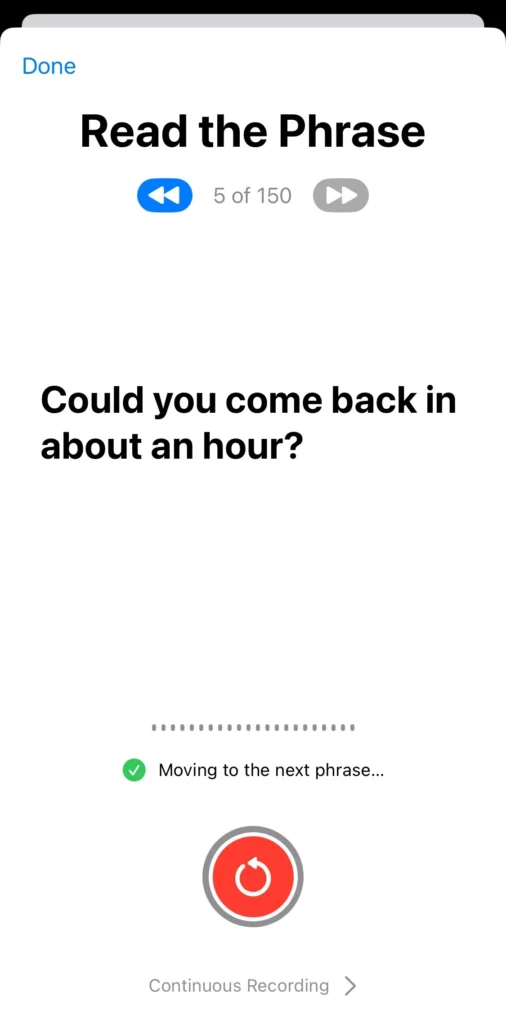
3. Record your Audio Samples
The next step is to provide audio samples to the machine learning system by reading out 150 phrases. Yes, Apple asks you to record 150 phrases as voice samples. The phrases are a combination of questions and statements, including historical facts, random snippets of texts, and other sentences to get the full range of motion of your voice.
All this is designed to capture the full range of your voice in different contexts and intonations. This step alone will take 15-20 minutes, depending on your reading pace. But the entire process is not boring; it actually goes by really quickly, and the sentences are random enough to keep things interesting.
4. Plug in your iPhone and leave it
Now that your job is finished, its time to let your device do its job. Click on Continue to finish recording and move to prepare your Personal Voice. The Machine Learning model needs all available resource bandwidth on your device to make a digital clone of your voice, so you need to plug in your phone and leave it locked.
In Locked Mode, you’ll be able to see that your Personal Voice is still processing and you’ll receive a notification once the device has finished processing it.
Now it’s time to wait. It will take several hours for your device to process the sample and create a voice clone, so I suggest you do it before bed and leave your phone plugged in overnight.
How to Use Personal Voice?
- Add your Personal Voice to Live Speech
Once Personal Voice is set up, you can start using it in Live Speech. To get started:
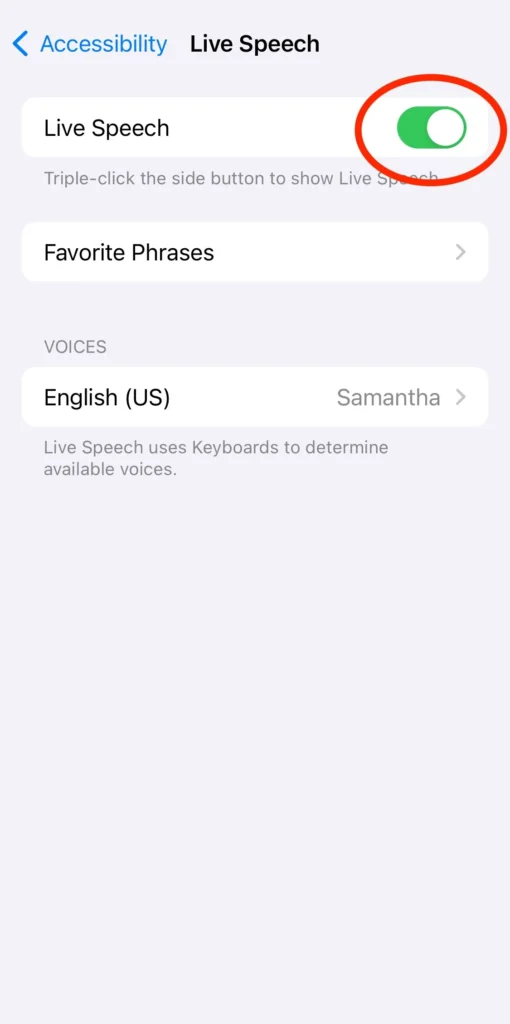
- Go to Settings > Accessibility > Live Speech
- Toggle on Live Speech
- Under Voices, choose the name you gave to your Personal Voice.
2. Enable Live Speech on FaceTime or Call
To use your Personal Voice on a FaceTime or a Call, you’ll have to enable Live Speech. Start by triple-clicking the side button. A window on the bottom of the screen will show up, prompting you to type a message. When type and hit enter, you’ll hear an Ai generated version of your voice. You can test it out when you’re on FaceTime or on a phone call.
Conclusion – Personal Voice on iOS 17
That’s it. That’s all it takes to set up personal voice on iOS 17. iOS 17 comes with a range of cool accessibility feature and Personal Voice is one of the great ones. If you love personalizing your device, then you’d love Personal Voice.